For small business owners new to Facebook advertising, knowing how to boost a Facebook post is often the first step into paid social media marketing. The “Boost” button is Meta’s simplified entry point into advertising—a streamlined way to put your existing organic post in front of more people without navigating the full complexity of Facebook Ads Manager. This guide covers everything you need to know about how to boost a Facebook post effectively, including when boosting makes sense, when it does not, and how to configure your boosted post for the best possible results.
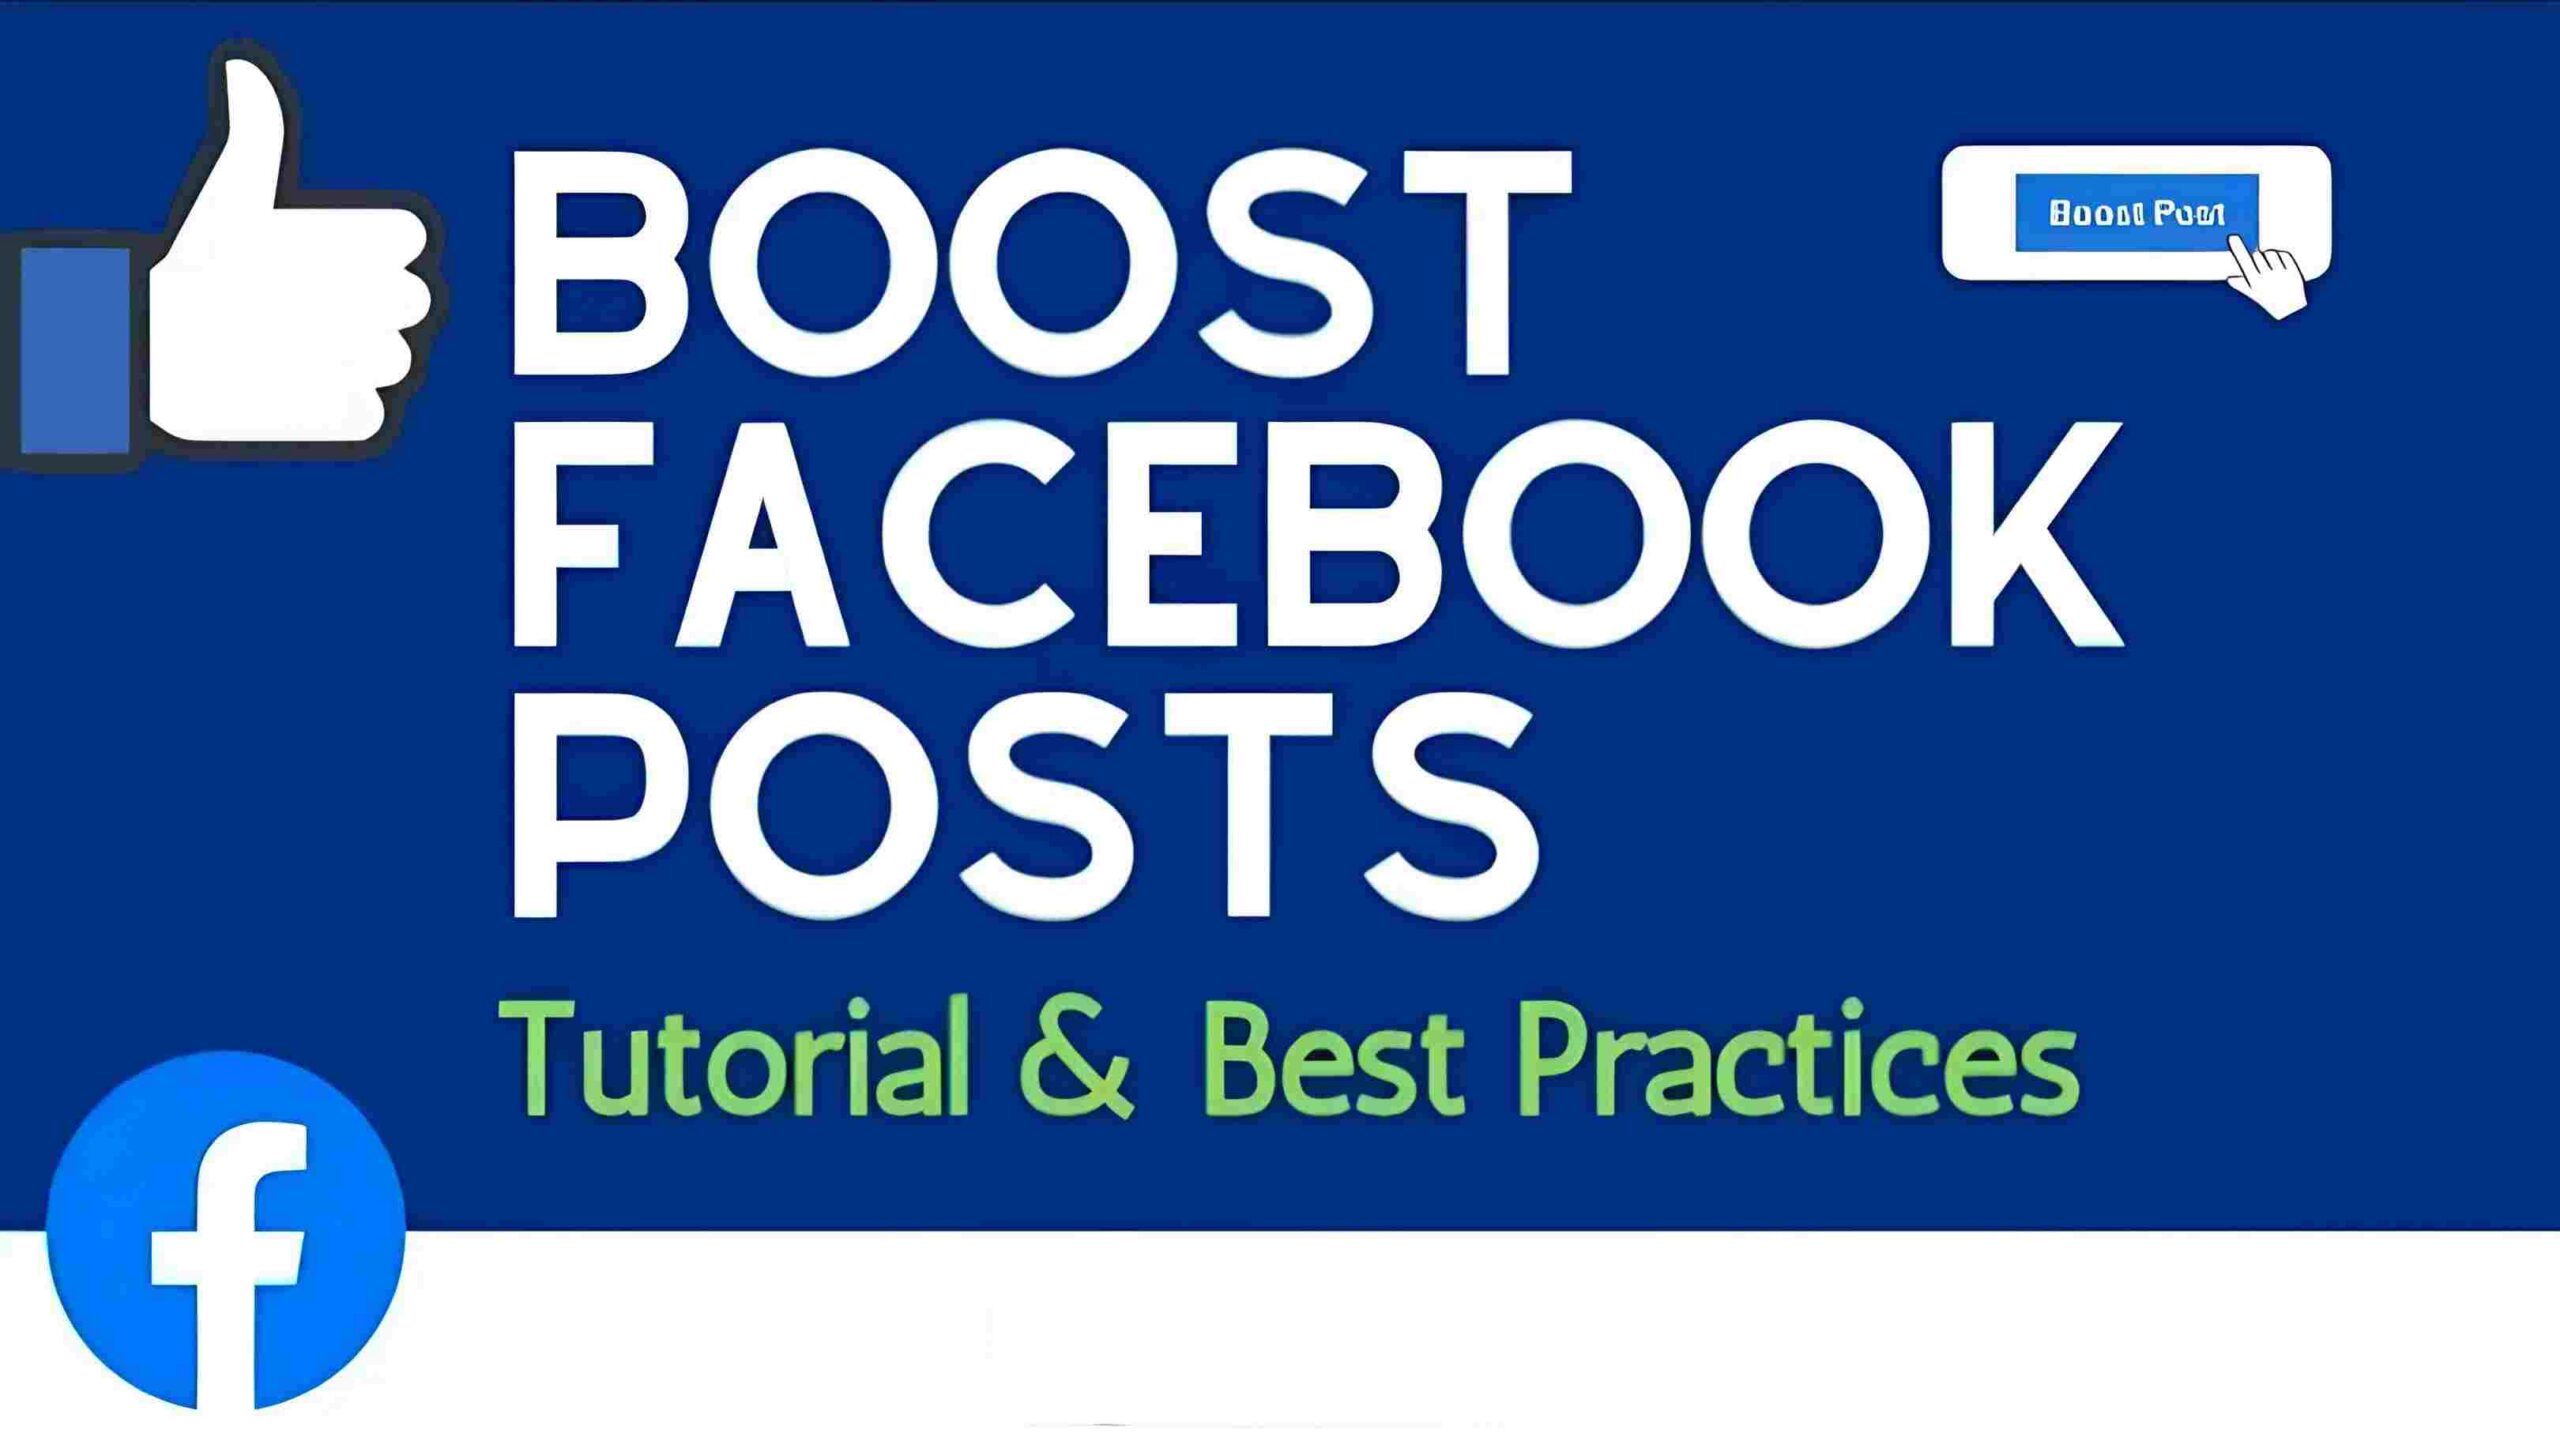
What Does “Boost a Facebook Post” Actually Mean?
When you boost a Facebook post, you are taking an existing organic post from your Facebook Page and paying Meta to show it to more people—either people who already follow your Page or people who match specific targeting criteria you select. The key distinction is that you are promoting content that already exists on your Page, not creating a new ad from scratch.
This matters for several reasons. First, boosting is simpler than creating a full ad in Ads Manager—there are fewer options to configure and the workflow is more streamlined. Second, boosted posts appear in the same format as organic posts in users’ feeds, which means they feel less like advertisements and more like content from a brand they already follow. Third, boosted posts accumulate likes, comments, and shares on the original organic post, which can improve your Page’s overall engagement rate and visibility.
However, there are important limitations. Meta’s Business Help Center notes that the Boost button is designed for simplicity, not for sophisticated campaign optimization. For campaigns that need detailed audience targeting, multiple ad creative variations, or conversion tracking, Facebook Ads Manager offers significantly more control. Understanding when to use the Boost button and when to graduate to Ads Manager is one of the first strategic decisions a small business owner needs to make on Facebook.
When to Boost a Facebook Post vs Using Ads Manager
Before learning how to boost a Facebook post, it is important to understand when boosting is the right tool for the job. Using the wrong tool wastes your advertising budget.
When Boosting Makes Sense
Boosting is the right approach when you have an organic post that is already performing well and you want to amplify it to a wider audience. If a post about a product launch, a special offer, or a piece of content has generated strong engagement from your existing followers, boosting it extends that success to reach new people who are likely to be interested in your business.
Boosting also makes sense for local businesses running location-based promotions. If you have a retail location and want to promote a weekend sale to people within 10 miles of your store, the Boost button’s location targeting is straightforward and effective. Boosting also works well for promoting a specific piece of content—a blog post, a new product photo, a customer testimonial—to increase website traffic from a warm, engaged audience.
When Ads Manager Is the Better Choice
Ads Manager is the right choice when you need precise control over your campaign. If you want to run A/B tests with different ad creative, target multiple audience segments simultaneously, optimize for a specific conversion event (like a purchase or a lead form submission), track conversions with the Facebook Pixel, or retarget people who have visited your website—Ads Manager is the appropriate tool.
WordStream’s Facebook advertising benchmarks show that campaigns optimized in Ads Manager for specific conversion events typically achieve 30–50% lower cost-per-acquisition compared to boosting with default optimization settings. If your goal is to generate leads or sales rather than simply increase reach and engagement, Ads Manager is almost always the better investment.
How to Boost a Facebook Post: Step-by-Step Instructions
Step 1: Identify the Right Post to Boost
Not every post is worth boosting. The best candidates for boosting are posts that have already demonstrated strong organic performance—high engagement rates relative to your Page size, positive comments, meaningful shares. A post with 50 likes and 10 comments from 500 impressions is a better boosting candidate than a post with 5 likes and no engagement, even if both are from the same Page.
Look for posts that meet these criteria: high engagement rate relative to your Page’s typical performance, content that has a clear call to action or specific offer, content that represents your brand well to new audiences, and posts that are less than 2–3 weeks old (fresh content boosts better than older posts).
Step 2: Click the Boost Button
On your Facebook Page, navigate to the post you want to boost. Below the post, you will see a series of buttons: Like, Comment, Share, and Boost. Click the Boost button—it looks like a small circle with a dollar sign or an upward arrow.
Meta may show you a preview of how your boosted post will appear to different audiences. Review this preview carefully before proceeding to the targeting configuration.
Step 3: Define Your Boost Objective
After clicking Boost, Meta will ask you to select a boosting objective. The options typically include:
Get more website visits: Optimize to send traffic to your website or a specific landing page. Use this when your goal is to get more people to read a blog post, view a product page, or visit your website.
Get more messages: Optimize for Messenger conversations. Use this if your sales process involves direct messages and you want to generate inbound message threads from your Facebook presence.
Get more engagement: Optimize for likes, comments, shares, and page follows. Use this when your primary goal is to grow your Page’s audience and social proof rather than drive immediate conversions.
Get more followers: Optimize to gain new Page followers. Use this to grow your organic reach over time by promoting to people who do not yet follow your Page.
Choose the objective that most closely matches your goal for this specific boost. Note that if your goal is sales or leads, Ads Manager is almost always the better choice.
Step 4: Select Your Audience
Meta will give you two options: boost to people who already follow your Page, or boost to a custom audience you define.
Boost to followers: The simplest option. Meta will show your post to your existing followers and their friends. This is a low-risk, low-cost option that is useful for amplifying content to people who already know your brand.
Boost to a custom audience: You can define a specific audience based on location, age, gender, interests, and other demographic criteria. For a local business, you might select people within 15 miles of your location, aged 25–55. For a niche e-commerce brand, you might target specific interest categories related to your product. Be specific—overly broad targeting wastes budget on people who are unlikely to convert.
Create a saved audience: If you have a saved audience from previous campaigns, you can reuse it here for consistency.
Step 5: Set Your Budget and Duration
You will set a daily budget (how much you spend per day on average) or a total budget (how much you spend over the campaign duration). Meta recommends a minimum of $1 per day for boosting, though realistic budgets for meaningful reach start at $5–$10 per day.
Daily budget vs. total budget: A daily budget is better for ongoing campaigns where you want continuous delivery. A total budget is better for time-bound promotions (a weekend sale, a product launch) where you want to spend a fixed amount over a specific period.
Duration: You can set a specific end date for your boost or run it continuously until you pause it. For time-sensitive promotions, set a specific end date that aligns with when the offer expires.
Step 6: Review and Publish
Before publishing, review all your settings: the post content, the audience targeting, the budget, and the duration. Meta will show you an estimated reach based on your budget and targeting—use this as a final check rather than an exact figure.
Once you are satisfied, click “Boost Post” or “Confirm.” Your boosted post will begin running after Meta reviews it for policy compliance—this typically takes 30 minutes to a few hours.
Common Boosting Mistakes and How to Avoid Them
Mistake 1: Boosting Posts Without a Clear Goal
One of the most common mistakes small businesses make is boosting posts without a specific goal or call to action. If your boosted post does not have a clear purpose—”I want people to visit my product page,” “I want people to message me about my service”—then you will not be able to evaluate whether the boost was successful. Always start with a clear goal, and measure your results against that specific objective.
Mistake 2: Targeting Too Broadly
When defining your audience for a boost, resist the temptation to target as broadly as possible. “All women in the United States” is not a target audience—it is a demographic description. A better targeting approach for most small businesses is to target people who have already demonstrated interest in your product category, are in your geographic service area, and match your customer profile.
Mistake 3: Boosting Without Testing First
Before committing a significant budget to a boost, test with a small amount—$5–$10 per day for 2–3 days—and evaluate the results. Are you getting engagement from your target audience? Is the cost per result reasonable? Is the post generating the actions you wanted? Use this small-test approach before scaling up to a larger budget.
How to Measure Your Boosted Post Performance
After your boost starts running, you can monitor its performance from your Facebook Page or from Meta Business Suite:
Reach: The number of unique people who saw your boosted post. This tells you whether your targeting and budget are generating meaningful exposure.
Engagement: The number of people who reacted, commented, shared, or clicked your boosted post. A high engagement rate relative to reach indicates your content resonated with the audience.
Website clicks: If you selected “Get more website visits,” monitor the click-through rate to your website. If your goal is website traffic, are you getting enough clicks at a reasonable cost?
Cost per result: Divide your total spend by the number of results (website visits, messages, new followers) you received. Compare this to your benchmarks—is the boost generating value relative to its cost?
If you are consistently unhappy with your boosted post results, consider whether Ads Manager would give you better optimization and control. Didoo AI’s advertising platform handles all of this optimization automatically, recommending when to boost versus when to run full Ads Manager campaigns based on your specific business goals.
How to Boost a Facebook Post for Local Business Results
For local small businesses, boosting is one of the most cost-effective ways to reach nearby customers. Here is how to configure a boost for local results:
Audience: Set location targeting to a radius around your business—typically 5–25 miles depending on how far customers typically travel to access your products or services. Target ages and demographics that match your customer profile.
Content: Feature a specific offer, event, or product that creates a reason to visit your business. Posts that create urgency (“this weekend only”) and posts that offer something tangible (“20% off”) typically perform best for local boosts.
Timing: Align your boost duration with your promotional period. Run the boost for 3–7 days around the event or promotion. Set your daily budget to generate meaningful reach in that timeframe—at least $10–$15 per day for local targeting to achieve sufficient scale.
Advanced Boosting Strategies for Growing Businesses
Once you have mastered the basics of how to boost a Facebook post, the next level is strategic boosting—using the Boost button as a deliberate part of a larger social media marketing system rather than as a one-off tactic. Here is how to think about boosting strategically.
Boosting as Part of a Content Funnel
The most effective small businesses treat boosted posts as one stage in a larger content funnel, not as standalone tactics. Top-of-funnel content—educational posts, brand awareness content, industry insights—gets boosted to reach new audiences. Middle-of-funnel content—product comparisons, case studies, testimonials—gets boosted to warm audiences who have already engaged with your Page. Bottom-of-funnel content—promotional offers, free trial invitations, demo requests—gets boosted to retargeting audiences who have visited your website or engaged with your content.
This funnel approach requires planning your organic content calendar with boosting in mind. Before you create a post, know whether it is intended to be boosted, to whom, and for what purpose. Random boosting without a funnel strategy is how small businesses spend money on Facebook advertising without generating measurable business results.
Using Boost Reports to Inform Your Content Strategy
Your boosted post performance data is some of the most valuable audience research available to a small business. After each boost, analyze which audience segments generated the highest engagement rate, which creative formats (image vs. video vs. carousel) performed best, which calls to action drove the most clicks, and what content themes generated the strongest response from your target demographic.
Didoo AI’s marketing blog covers social media analytics and content strategy in depth, including guides on translating engagement data into content decisions. The businesses that get the most value from Facebook boosting are the ones that treat every boost as a learning opportunity, not just a promotional expense.
Frequently Asked Questions
Meta’s recommended minimum is $1 per day, but realistic results typically require $5–$10 per day minimum. At $1/day, your reach is too small to generate statistically meaningful results in most markets. For meaningful local reach, $10–$25/day is a better starting budget. You can set either a daily budget (average spend per day) or a total budget (maximum spend over the campaign lifetime).
A minimum of 3–5 days is recommended to allow Meta’s algorithm to optimize delivery. For ongoing brand awareness boosts, running continuously with a daily budget is appropriate. For time-sensitive promotions, align the boost duration with your promotional window and end it when the offer expires to avoid spending budget after the urgency has passed.
Yes, and this is often the best strategy. Posts that have already demonstrated organic engagement signal to Meta’s algorithm that the content resonates with audiences—which can lead to better boosted performance. When you see a post generating strong likes, comments, and shares organically, that is your signal to boost it while the content is fresh and resonant.
Use the Boost button for simple reach, engagement, or website traffic campaigns when you do not need conversion tracking, pixel integration, or detailed audience segmentation. Graduate to Ads Manager when you need to track conversions on your website, run A/B tests across multiple ad creatives, target multiple audience segments simultaneously, or optimize for specific conversion events like purchases or lead form submissions. Most small businesses start with boosting and graduate to Ads Manager as their advertising sophistication grows.
Mastering how to boost a Facebook post is just the beginning. As your advertising budget grows and your marketing goals become more sophisticated, you will eventually need the full capabilities of Facebook Ads Manager. Didoo AI handles the entire progression from boosting to full Meta advertising management, so your business does not have to outgrow the Boost button before you are ready for it.
This guide on how to boost a Facebook post was last updated in April 2026. The boosting interface and available objectives change regularly as Meta updates its advertising platform. Always check Meta Business Suite for the most current options when configuring your next boost. This article was written independently without sponsored placement.